Where should a split system be installed in a bedroom?
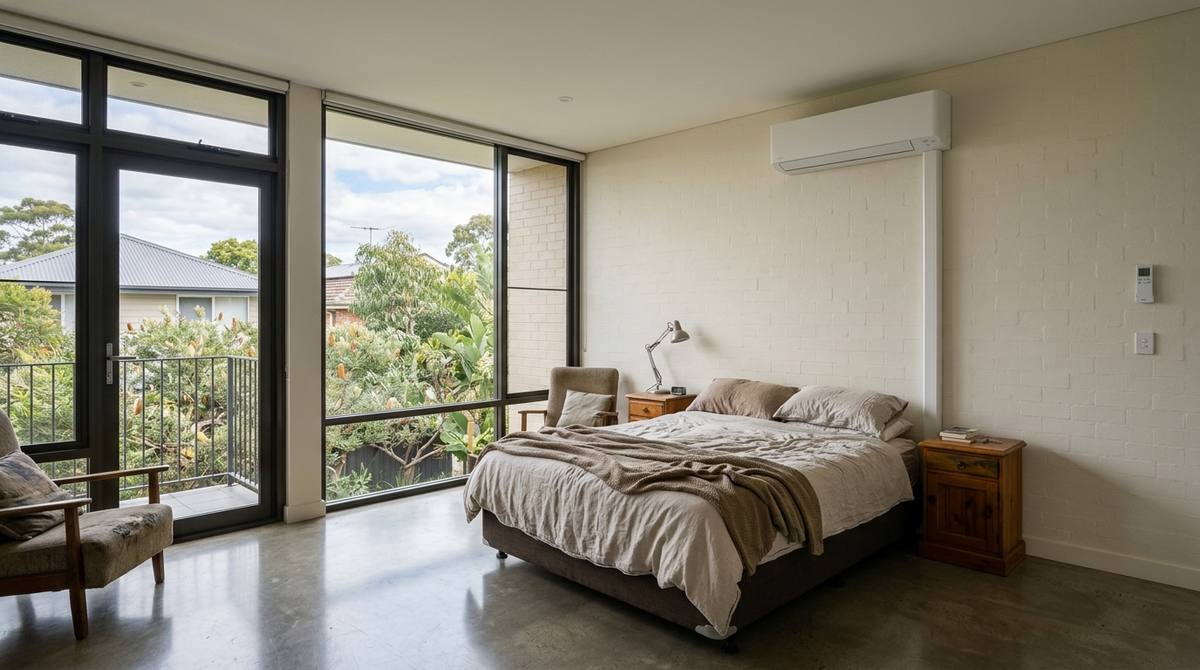
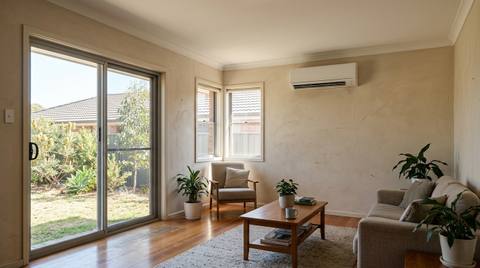
A split system should be installed on a wall where the airflow does not blow directly onto the bed, ideally to the side of the sleeping area or above the headboard. It requires at least 150mm of clearance from the ceiling for air intake and should be positioned on an external wall to simplify condensate drainage and pipework.
Why direct airflow over the bed causes discomfort
The primary mistake made in bedroom installations is positioning the indoor unit directly opposite the bed. While it might seem logical to have the cold air blowing straight at you on a 40-degree night, the reality is that most people find the constant movement of chilled air across their face or chest highly disruptive to sleep. This direct draft can lead to dry eyes, a sore throat, or simply a feeling of being too cold, even if the room temperature is technically correct. The goal of a well-placed split system is to create a consistent envelope of cool air by circulating it around the room, rather than blasting the occupant.
Ideally, the unit should be mounted on a side wall so the air blows across the foot of the bed, or mounted directly above the headboard. When the unit is above the headboard, the air is projected out and over the bed, falling gently towards the far wall and then circulating back. This creates a more natural convection current. In a humid coastal climate like Brisbane or the northern parts of New South Wales, managing this airflow is critical because the air feels heavier; a direct blast of cold, dehumidified air can be particularly jarring compared to the ambient moisture levels in the rest of the house. We always look for a position that allows the louvres to oscillate without hitting furniture or curtains, which can deflect air back onto the unit's internal thermostat and cause it to cycle off prematurely.
Maximising efficiency through wall selection and height
Every indoor unit needs a minimum amount of clearance from the ceiling—usually 150mm to 200mm—to function correctly. The top of the unit is where the return air is drawn in; if you mount it too close to the cornice, the fan has to work harder to pull air through the heat exchanger, which increases noise and reduces the lifespan of the motor. Height is also a factor in thermal performance. Because heat rises, a unit mounted too low will struggle to cool the warm air trapped near the ceiling, while a unit mounted at the correct height can effectively strip the heat from the entire volume of the room. In older Australian homes with 2.7-metre or 3-metre ceilings, this height becomes even more important to ensure the unit can reach the 'dead air' trapped at the top of the room.
Choosing between an internal and external wall is the next major decision. An external wall installation is almost always the preferred option because it allows the copper pipes and the drain hose to pass directly through the wall to the outdoor unit. This is often referred to as a 'back-to-back' install. It is the most cost-effective method and minimises the risk of future leaks inside the wall cavity. If we have to install on an internal wall, we must account for the 'fall' of the drain pipe. Water must run downhill at a minimum gradient of 1:100 to reach an exit point. If the wall layout doesn't allow for this, we have to install a condensate pump, which adds cost and introduces a mechanical point of failure that can be noisy in a quiet bedroom environment.
Managing condensate drainage and structural constraints
In the Australian summer, a split system doesn't just cool the air; it removes a significant amount of moisture. This water collects in a tray under the indoor coil and must be drained away. If the unit is installed on a brick veneer wall, we can usually hide the pipework behind the unit and exit through the timber stud and brickwork. However, in double brick constructions common in older suburbs, the process is more invasive. If the drain cannot go straight out, it may need to be chased into the render or run inside a plastic conduit (trunking) along the internal wall. This is a trade-off between aesthetics and functionality that needs to be decided before the first hole is drilled.
Structural elements like wall studs and top plates also dictate placement. We use a stud finder to ensure the mounting bracket is secured into timber or metal studs rather than just the plasterboard. A 2.5kW unit might only weigh 10kg, but a larger 5kW unit used in master suites can be significantly heavier and requires a solid fix to prevent vibration. We also need to be mindful of what is happening on the other side of that wall. If the bedroom shares a wall with a bathroom, we must avoid the plumbing stacks. If it shares a wall with another bedroom, we need to consider how the noise of the refrigerant moving through the pipes might affect the person on the other side. Proper planning of the air conditioning service access is also vital, as the filters need to be reached easily for cleaning without moving heavy furniture.
Noise considerations and outdoor unit orientation
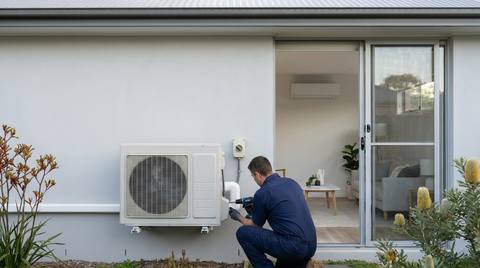
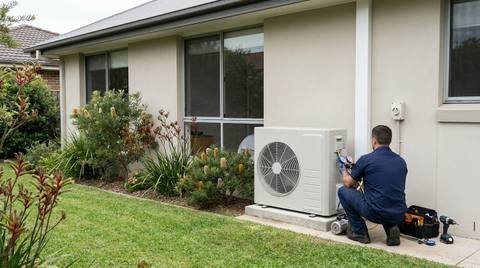
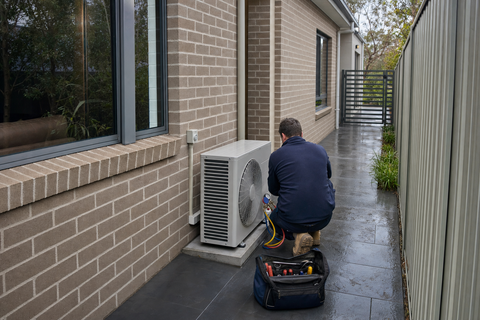
While the indoor unit is designed to be quiet, the outdoor compressor is the source of most vibration and mechanical noise. In a bedroom install, the placement of the outdoor unit is just as critical as the indoor one. If the outdoor unit is mounted on brackets directly to the bedroom wall, the vibration can resonate through the structure, creating a low-frequency hum that is audible at night. This is particularly noticeable in lightweight cladding or weatherboard homes. Where possible, we prefer to mount the outdoor unit on a concrete plinth on the ground or on heavy-duty rubber feet to isolate that vibration.
If the bedroom is on the second storey, we often look for a nearby flat roof or balcony. However, the length of the pipe run matters. Most manufacturers specify a minimum pipe length of 3 metres to allow the refrigerant to stabilise and reduce 'liquid slugging' noise. If the indoor and outdoor units are too close (literally back-to-back on a thin wall), the noise of the refrigerant expanding into the coil can be heard as a hissing or gurgling sound. Conversely, if the pipes are too long—exceeding 15 or 20 metres depending on the model—the efficiency drops and the compressor has to work harder. We always aim for the shortest, straightest path that maintains a quiet environment for sleep.
Dealing with window placement and sun load
Windows are the weakest point in a bedroom's thermal envelope. In an inland climate like Wagga Wagga or Dubbo, the afternoon sun hitting a west-facing window can radiate an immense amount of heat into the room. If a split system is placed directly opposite a large, unshaded window, it will be fighting a constant battle against that radiant heat. The thermostat, located inside the indoor unit, might sense the cool air it is producing, but the occupant sitting near the window will still feel the heat. We generally recommend placing the unit on a wall that allows it to blow air parallel to the window rather than directly at it, which helps to 'wash' the heat away from the glass surface.
Curtains and pelmets also interfere with placement. If a unit is installed too close to a curtain rod, the curtains can block the return air intake or the discharge louvres. In modern Australian builds with floor-to-ceiling glass, wall space is at a premium. We sometimes have to look at 'bulkhead' style units or floor-standing consoles if there isn't enough vertical wall space above the windows. However, for a standard high-wall split, the best spot is usually a section of 'dead' wall where there are no windows or wardrobes, allowing the air to throw across the longest dimension of the room for maximum mixing.
Electrical requirements and circuit safety
Every air conditioning installation must comply with AS/NZS 3000, the Australian wiring rules. For a small bedroom unit (typically 2.5kW to 3.5kW), the power draw is relatively low, but it still requires a dedicated circuit back to the switchboard in most new installations. This prevents the air conditioner from tripping the circuit if you plug in a vacuum cleaner or a hair dryer on the same line. If your home has an older switchboard with ceramic fuses, an upgrade to RCDs (Residual Current Devices) is often necessary to meet modern safety standards before the install can be finalised.
We also have to install an isolator switch next to the outdoor unit. This is a safety requirement that allows a technician to physically disconnect the power while working on the unit. From a placement perspective, the path from the indoor unit to the switchboard needs to be considered. If the bedroom is on the opposite side of the house from the electrical board, running the cables through the roof cavity can be difficult, especially in homes with low-pitched roofs or limited crawl space. In these cases, the cost of the electrical run can actually exceed the cost of the mechanical installation. We always check the switchboard capacity during the quoting process to ensure the home's main supply—whether it is single-phase or three-phase—can handle the additional load of multiple bedroom units.
Common questions
Can I install a split system directly above my bed head?
Yes, installing a split system above the headboard is often the best position. It ensures that the air is projected away from your face and circulates around the room before settling, providing a much more comfortable sleep environment than a unit placed directly opposite the bed.
What is the minimum height required for a bedroom installation?
A split system must be installed with at least 150mm of clear space between the top of the unit and the ceiling. This gap is necessary for the unit to draw in return air. Without this clearance, the system will lose efficiency, run louder, and potentially suffer from premature component failure.
Does a bedroom split system need its own electrical circuit?
Under Australian wiring rules, most new air conditioning installations require a dedicated circuit from the switchboard. This ensures the unit has a stable power supply and prevents the risk of overloading existing bedroom power circuits, which could lead to tripped breakers or electrical fires.
Should I put the indoor unit on an internal or external wall?
An external wall is preferred because it allows for a simple 'back-to-back' installation. This makes drainage much easier, as the condensate water can flow via gravity directly outside. Internal wall installations often require expensive condensate pumps which can be noisy and require more frequent maintenance.
For more detail, read our split system air conditioning guide.